Are you planning a fun party or event? Picture this – kids laughing and sliding down a giant inflatable slide, having the time of their lives. Inflatable slides are like big, bouncy castles with super slides, and they make any party extra exciting! If you want your party to be the best ever, you've got to have an inflatable slide. It's like bringing a whole carnival right to your backyard! So, are you ready to make your party unforgettable? Let's learn how to set up your inflatable slide and start the fun!
Choosing the Right Location
Selecting the appropriate location for setting up your inflatable slide is crucial for ensuring both safety and enjoyment. Here are some factors to consider:
-
Space: Ensure that the area is spacious enough to accommodate the inflatable slide with ample room for participants to enter, exit, and move around safely.
- Flat Surface: Choose a flat, level surface free from any sharp objects, debris, or obstacles that could damage the slide or cause injuries.
- Accessibility: Consider accessibility for both setup and usage, ensuring easy access to power sources for inflation and proximity to amenities such as restrooms and parking.
Preparing the Ground
Before laying out the inflatable slide, it's essential to prepare the ground to create a stable foundation. Follow these steps:
- Clear the Area: Remove any rocks, sticks, or other debris from the ground to prevent punctures or tears in the slide.
- Lay Ground Cover: Place a tarp or ground cover beneath the slide to protect it from abrasions and moisture, ensuring longevity.
- Anchor Points: Identify and mark the location of anchor points for securing the slide to the ground, ensuring stability during use.
Unpacking and Laying Out the Slide
With your spot selected, it's time to unpack the slide and lay it out flat. Smooth out any wrinkles or folds to ensure a seamless surface. Take a moment to inspect the slide for any signs of wear or damage, addressing any concerns before proceeding.
Secure the Slide
Using stakes, weights, or anchor points provided with the quality inflatable slide, secure it firmly to the ground. Pay close attention to the corners and edges, ensuring a snug fit to prevent shifting or tipping. This step is crucial for maintaining stability, especially in windy conditions.
Inflation Process
Using a suitable air blower or pump, begin inflating the slide according to the manufacturer's guidelines. Ensure that all air chambers are fully inflated and that the slide takes its intended shape.
Tend to Additional Features
If your inflatable slide boasts extra features like climbing walls or splash pools, now's the time to secure them. Follow the slide's design cues to attach these features securely, ensuring they integrate seamlessly with the main structure.
Establish Entry and Exit Points
Create clear entry and exit points for participants to access the slide safely. Designate a designated climbing area with sturdy footholds and handholds, guiding users to the summit. At the base, ensure a smooth exit point with ample space for a soft landing.
Safety Measures
Before allowing participants to use the inflatable slide, review and enforce the following safety measures:
- Supervise participants closely.
- Communicate and enforce rules.
- Remove shoes and sharp objects.
- Monitor weather conditions.
Maintenance Tips

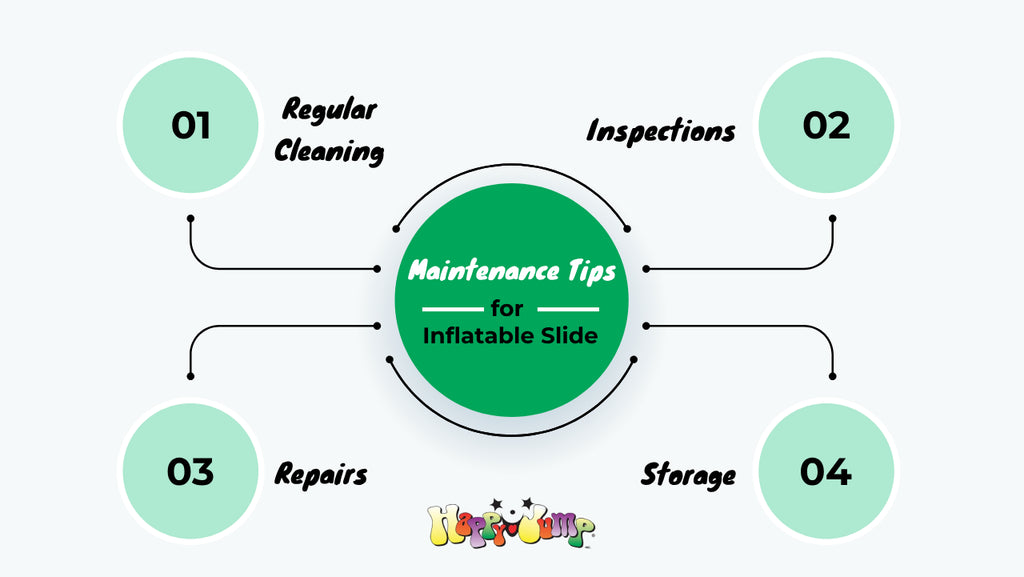
To prolong the lifespan of your inflatable slide and ensure continued safety and enjoyment, follow these maintenance tips:
- Regular Cleaning: Clean the slide regularly using mild soap, water, and a soft brush to remove dirt, debris, and stains.
- Inspections: Inspect the slide before and after each use for signs of wear, tear, or damage, such as loose seams, punctures, or fading.
- Repairs: Promptly repair any damage or defects using patch kits and adhesive recommended by the manufacturer to prevent further deterioration.
- Storage: Properly deflate, clean, and dry the slide before storing it in a cool, dry place away from sunlight, moisture, and pests.
Proper Storage
When not in use, store the inflatable slide in a clean, dry area away from direct sunlight, extreme temperatures, and moisture. Fold or roll the slide according to the manufacturer's instructions to minimize creases and preserve its shape.
Conclusion
Setting up and cleaning an inflatable slide requires careful planning, attention to detail, and adherence to safety guidelines. By following the step-by-step process outlined in this guide, you can ensure a smooth and successful setup, providing hours of fun and excitement for all participants
Frequently Asked Questions (FAQs)
How long does it take to set up an inflatable slide?
The time required for setup varies depending on the size and complexity of the slide, but it typically takes between 15 minutes to an hour.
Can inflatable slides be used indoors?
Yes, inflatable slides can be used indoors as long as there is adequate space and ventilation to accommodate them safely.
What age groups can use inflatable slides?
Inflatable slides are suitable for a wide range of age groups, from young children to adults, with appropriate supervision and guidance.
Are inflatable slides safe for children?
When used correctly and under proper supervision, inflatable slides are safe for children. However, adult supervision is essential to ensure safe play and prevent accidents.
How do I clean an inflatable slide?
Clean the inflatable slide regularly using mild soap, water, and a soft brush. Avoid harsh chemicals and abrasive cleaners that could damage the slide's surface.
